Bones® Bearings Cleaning Unit
Cleaning Instructions - Video
Bones® Bearings Cleaning Unit
- Gently remove the non-contact rubber shield of the bearing by prying upwards from the center using a push-pin, or by pressing it out from the back using a paper clip or pen knife. Do not clean the rubber shields with any solvent, as this will cause the rubber to blister and ruin the fit on the bearing. Gently wipe them clean using a clean cloth or use soapy water. If you choose to use soapy water, make sure to dry the shields completely before putting them back onto the bearing.
- We have tried many cleaners and solvents and have several recommendations. Citrus-based cleaners work but can leave a slight oily residue on the bearing. Solvents are more dangerous to use, but often provide a more superior solution to cleaning dirty bearings. If you choose to use solvents, we recommend wearing latex gloves and working in an area that is well ventilated. Solvents we recommend are Acetone, Methyl Ethyl Ketone, Citrus cleaner, and Denatured alcohol. All of these can be found in the paint section of your local hardware store. Products we DO NOT recommend are petroleum-based products like; paint thinner, gasoline, kerosene, lacquer thinner, turpentine or anything that contains tolulene. These solvents aren’t adequate cleaners and should not be used in the bearing cleaning unit. Whatever you use, make sure to dry your bearings and add the lubrication to them as soon as possible to keep them from rusting.
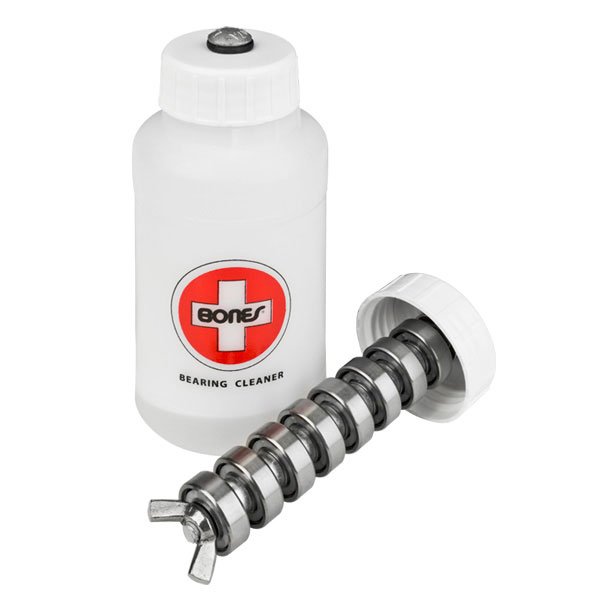
- Take your bearings and place them on the axle (metal rod on the lid) alternating from one bearing to one spacer till all 8 bearings are on the axle. For best results make sure that the ball side of the bearing is facing upwards. Fasten them down finger tight onto the axle using the wing nut.
- Fill the bearing-cleaning unit up about 1/3rd of the way full with your cleaning solution and seal the cap. Agitate the cleaning solution by shaking the bottle. Shake for about 30 seconds, open the lid and give the bearings a spin to free up any debris and recap the bottle. Shake until you are satisfied that your bearings are cleaned completely. To make sure they are clean, spin the bearings on the axle.
- Remove the bearings from the axle and dry with a clean lint free towel. We also recommend blowing the bearings out with a can of compressed air, which you should be able to find at any electronics or office supply store. Be careful when doing this, as you don’t want the solvent to get in your eyes or all over the place. Make sure to blow them out over a towel.
- Once the bearings are clean and dry, the next step is to lubricate them. We have found through the years of testing that our Bones® Speed Cream® is the best light oil lubricant for your skate bearings. Put two drops of the lubricant per bearing and spin the bearing between your fingers to distribute the lubricant throughout the entire bearing. If you have ceramics, only one drop of lubricant is needed. The next step is to put the rubber shields into position. They should just slip right into place with very little force. Occasionally you will see a wrinkle along the inner race edge. To get rid of this, simply run your thumb over it lightly in a circular fashion. Now you’re ready to install the bearings back into the wheel.
- If you choose to use solvents, please make sure to dispose of it properly. Most solvents will have disposal instructions on the container. Please be sure to be environmentally friendly and dispose of your cleaning agents in a responsible manner.
Back to Top
Bones® Bearings
6860 Cortona Drive Unit B
Goleta, CA 93117 USA Work 805.964.1330


